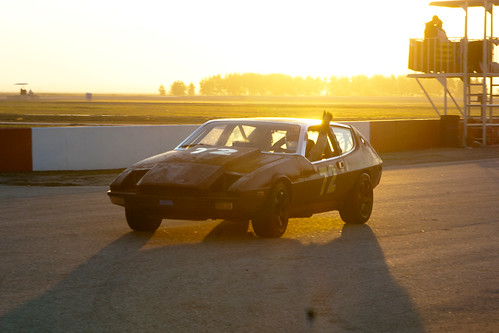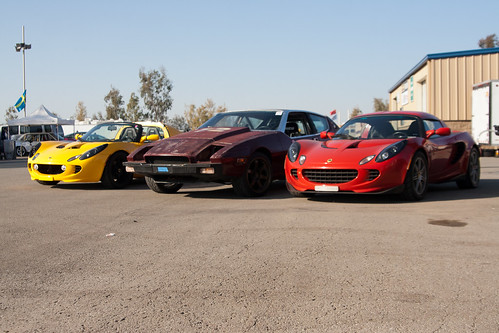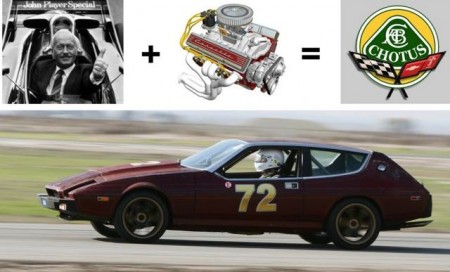
On December 4th 2011, a 1974 Lotus Elite with a Chevy V8 engine competed in a 15 hour endurance event at Buttonwillow, California.
It didn’t do very well.
This is the story of our path. You can follow it if you like. Probably best if you don’t though.
Step 1. Buy a Lotus Elite.
Possibly the hardest part of the operation, as there are likely less than 100 of these fantastic machines in working order in the US. We found our car by advertising a second hand fridge on Craigslist, then asking the guys who showed up they have a Lotus Elite they’d like to swap for the fridge. We asked him to throw in a couple of hundred bucks.
Step 2. Bring the Elite home.
We found out that Colin, being his usual efficient self, used the drive shafts as the upper suspension elements. With the diff in the standard place for the Elite (the trunk), towing quickly resulted in two flat tires as they impinged on the incredibly sharp shock tower brackets.
Step 3. Look for the rear brakes.
We found them in the trunk. With the diff. On the diff actually. And they’re drums.
Step 4. Remove the Interior.
Everyone knows that to be competitive in a race you should make your car as light as possible by removing the creature comforts such as passenger seats and the air conditioning. The Elite was originally a luxury 2+2 as it rolled off the production line all those years ago, but Colin was alive at the time, and simplify and add lightness was still the rule in Hethel. Removing all the interior saved us about 10 pounds, but vastly reduced the amount of tan corduroy we see on a daily basis.
Step 5. Build a cage.
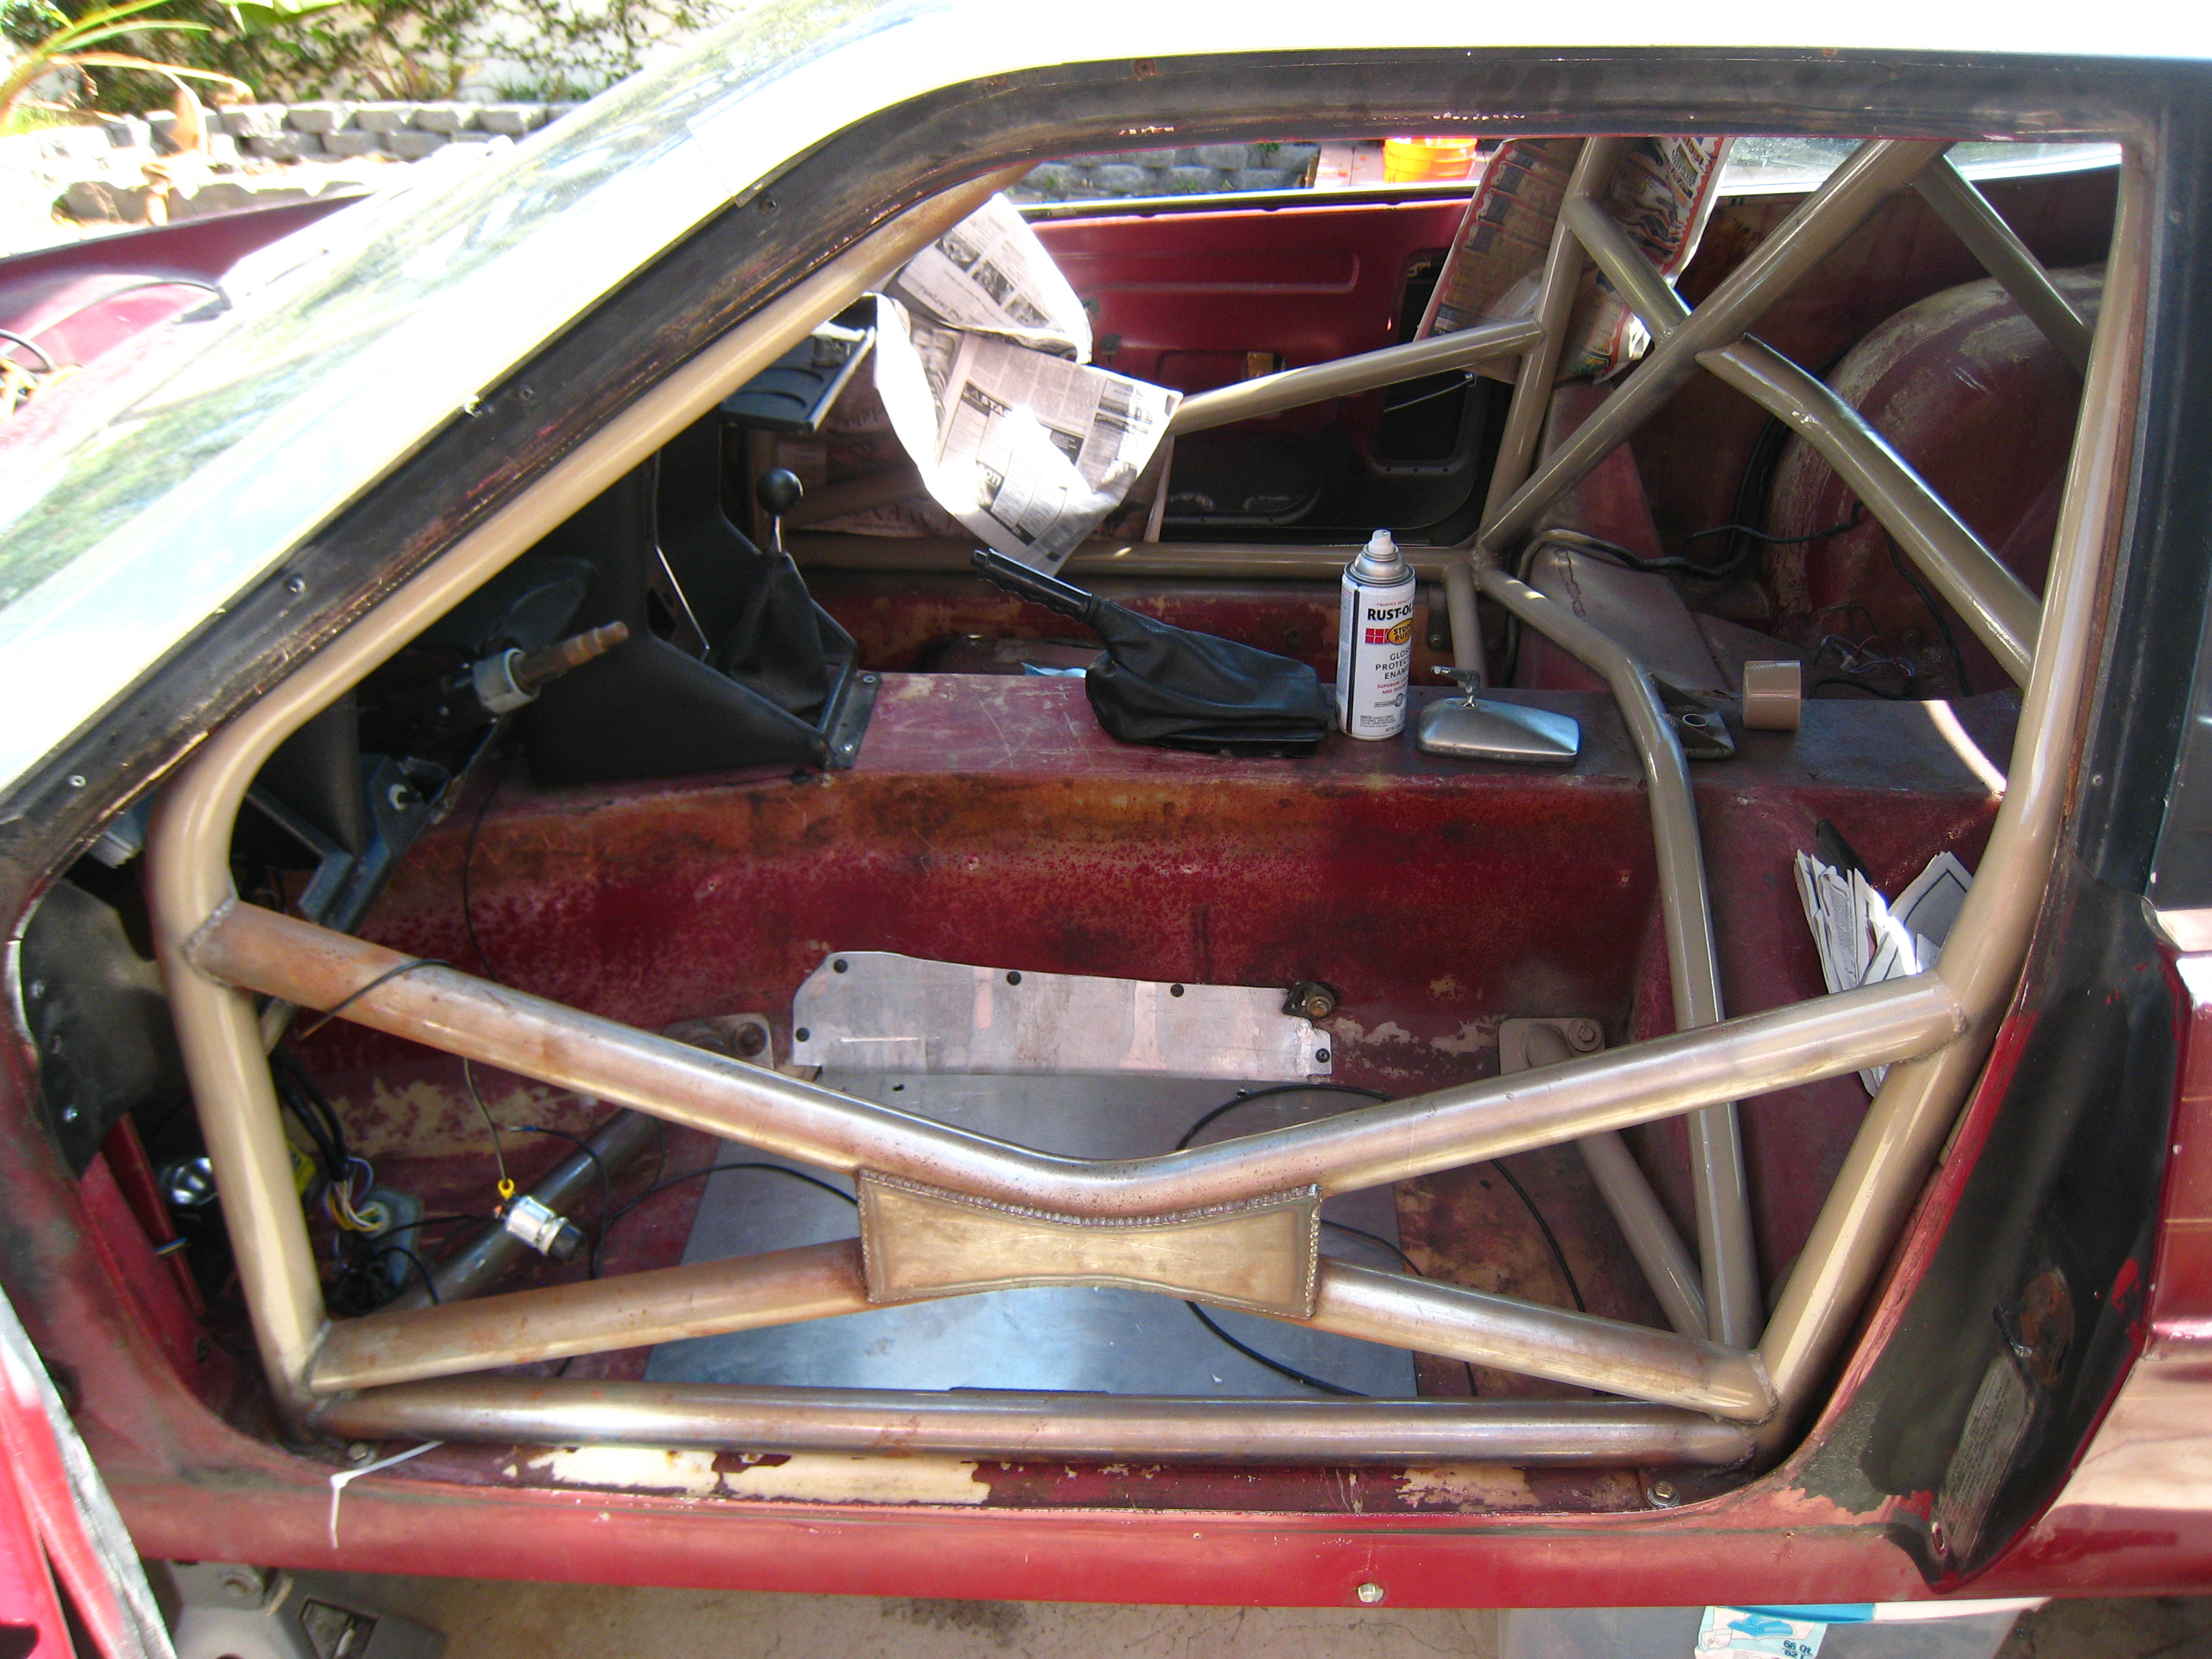
In fact, we didn’t build a cage. It’s far too difficult for a Joe Shmoe like you and me. We took it to an expert cage builder who scratched his head at the challenge of finding enough metal in the car to weld to. In the end he built a complete under floor chassis to hold the seat to the cage. In the event of a really big hit the fiberglass body may part company with the cage, but at least we’ll still be in the cage.
Step 6. Install the diff.
We set aside about 3 days for this task, not really because the diff is hard to install, but that with the drums on the diff you have to connect brake lines to the diff when the diff is in place. We could have saved about 2.5 of those days if had cut large holes in the fiberglass by the transmission tunnel to access the brake lines from the back seat. We did this after spending the 3 days installing the diff.
Step 7. Get the Chevy V8 running.
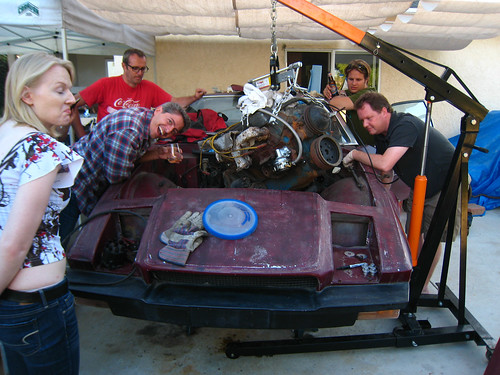
This is ridiculously easy provided you don’t have the distributor set 180 degrees out. You’ll know if you’ve done this because 8 foot flames out of the carburetor are not normal. Neither is blowing the breather out of the valve cover into your overhead florescent lights.
Step 8. Go to the practice day on the Friday before the race.
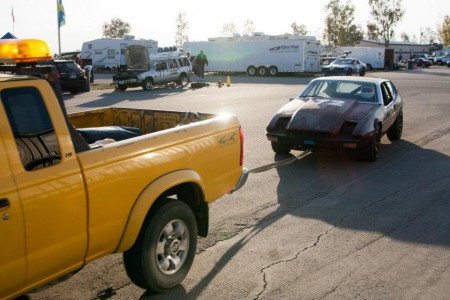
A novice would think that the practice day is to tune up the performance of the car on track. It turns out that normal procedure is to hammer on the radiator fan shroud to try and reduce interference. Take the radiator out to have to hole you just made in it repaired. Bleed the brakes 9 times. Go out on track for ¼ of a lap and get towed in with an apparent fuel problem. Wonder what’s causing the blue smoke to come out of the exhaust but not have time to investigate it. Fail tech by putting the battery in the trunk, so that with a big rear end hit we have a heavy object to puncture the gas tank and a spark source to ignite it. Move the battery to the rear seat, and collapse in a heap from a 14 hour day working on the car.
Step 9. Line up for the start on Saturday.
Again a novice would think that this is to take part in the race. Instead this is so that we could get towed off after another ¼ of a lap with the fuel problem that we had the day before but didn’t solve. We installed an electric pump instead of the mechanical one and wondered why we still had a fuel problem. We replaced the inline fuel filter and wondered why we still had a fuel problem. We examined the interior of the carburetor and wondered why we still had a fuel problem. We found a kink in the fuel line right under the gas tank and knew why we had a fuel problem.
At last we got to run two laps of the track before getting black flagged for leaving blue smoke swath so bad we understood why James Bond liked Lotuses. Back to the pits we started taking the engine apart and wondered if we did anything bad to the internals when we spat flames out of the carburetor. Nah. That couldn’t be it.
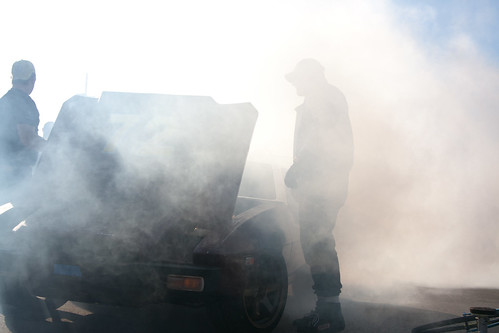
Actually…
Backfires (frontfires?) could have blown the intake gasket, letting oil into some of the cylinders. Good job it’s easy to take the intake manifold off a V8 and replace it. While we’re in the pits we drained the ½ gallon of gasoline in the trunk and tried and figure out where it’s coming from. We connected tubes to the breathers that vented into the trunk. Finally! The car was fixed and we could get back out on track. Shame that racing for the day stopped 6 hours ago.
Step 10. Go racing!
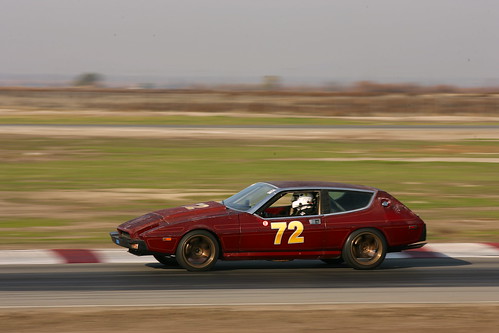
Really! The car was ready and fun to drive! For two laps. Then we needed to change out the rear tires for smaller ones to stop them impinging on the subframe (see Step 2) we went back out but the car just got slower and slower…
The throttle cable was stretching due to a bad pull angle from the accelerator pedal. Another stop and an adjustment on the throttle made the car faster again, but it was a temporary fix as the cable started to fray in the sheath, making it stick.
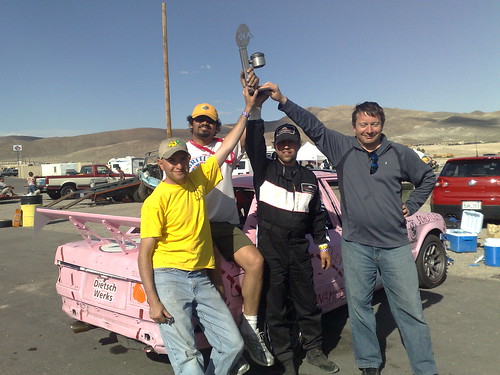
In the end the Chotus completed 60 laps over 2 days but it did come back from Buttonwillow in better condition than how it went. We can’t wait for Infineon
By Steve Warwick
B-Team Racing
Photos by B-Team Racing and Vanhap Photography
